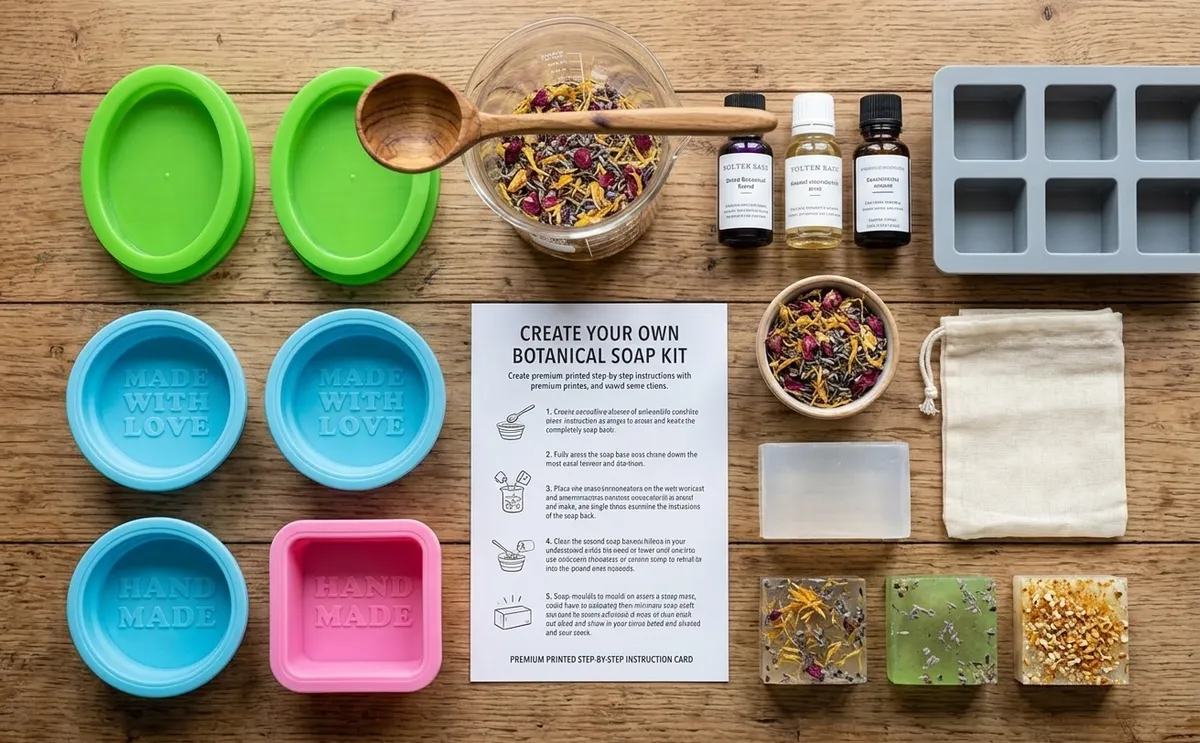
Making your own soap at home doesn't have to be complicated. With a melt and pour soap base, a few carefully selected ingredients, and the right technique, you can create beautiful, personalised soap bars from the comfort of your home.
Whether you are completely new to soap making or simply looking for a fun creative project, melt and pour soap is one of the easiest ways to get started.
In this guide, we'll take you through the complete process — from melting the soap base to adding colour, fragrance and botanicals, and finally creating your own finished soap bars.
What Is Melt & Pour Soap?
Melt and pour soap is a ready-made soap base that has already gone through the soap-making process. Instead of making soap from scratch, you simply melt the base, customise it with your preferred colours, fragrances or botanicals, and pour it into a mould.
This makes it an excellent option for beginners and for anyone who wants to enjoy the creative side of soap making at home.
What You'll Need
Your Sparkling Mosaic Soap Kit contains everything you need to create beautiful, personalised melt & pour soap bars. Experiment with colours, fragrances and botanicals to make your own unique creations.
What's Included:
- Soap base (500gm)
- 2 silicone moulds
- 2 fragrance oils
- 2 packet mica powder color
- Lavender seeds
- Rose petals
Don't have a kit yet? Get notified when the Sparkling Mosaic Soap Kit is back in stock.
You Will Also Need:
- A microwave or double boiler
- A microwave-safe heat-resistant jug or bowl
- A kitchen scale
- A knife for cutting the soap base
- A spoon or spatula for stirring
Before you begin, make sure all your equipment and your working surface are clean and dry.
Safety First
Although melt and pour soap making is beginner-friendly, melted soap can become very hot. Always work carefully.
- Handle the melted soap with care to avoid burns.
- Use a heat-resistant, microwave-safe container.
- Do not leave melting soap unattended.
- Do not overheat or boil the soap base.
- Keep melted soap away from children and pets.
- If irritation occurs, discontinue use and rinse the affected area with water.
- If children are participating, an adult should handle the heating and pouring of the melted soap.
Step-by-Step: How to Make Melt & Pour Soap
Each silicone mould holds approximately 60 g of soap.
For one soap bar, use:
- 60 g soap base
- 5–6 drops of fragrance oil or 1 ml of fragrance oil
- A small pinch of mica powder
- A small pinch of lavender seeds or rose petals
You can make approximately 8 soap bars from your 500 g soap base.
Step 1: Prepare Your Workspace
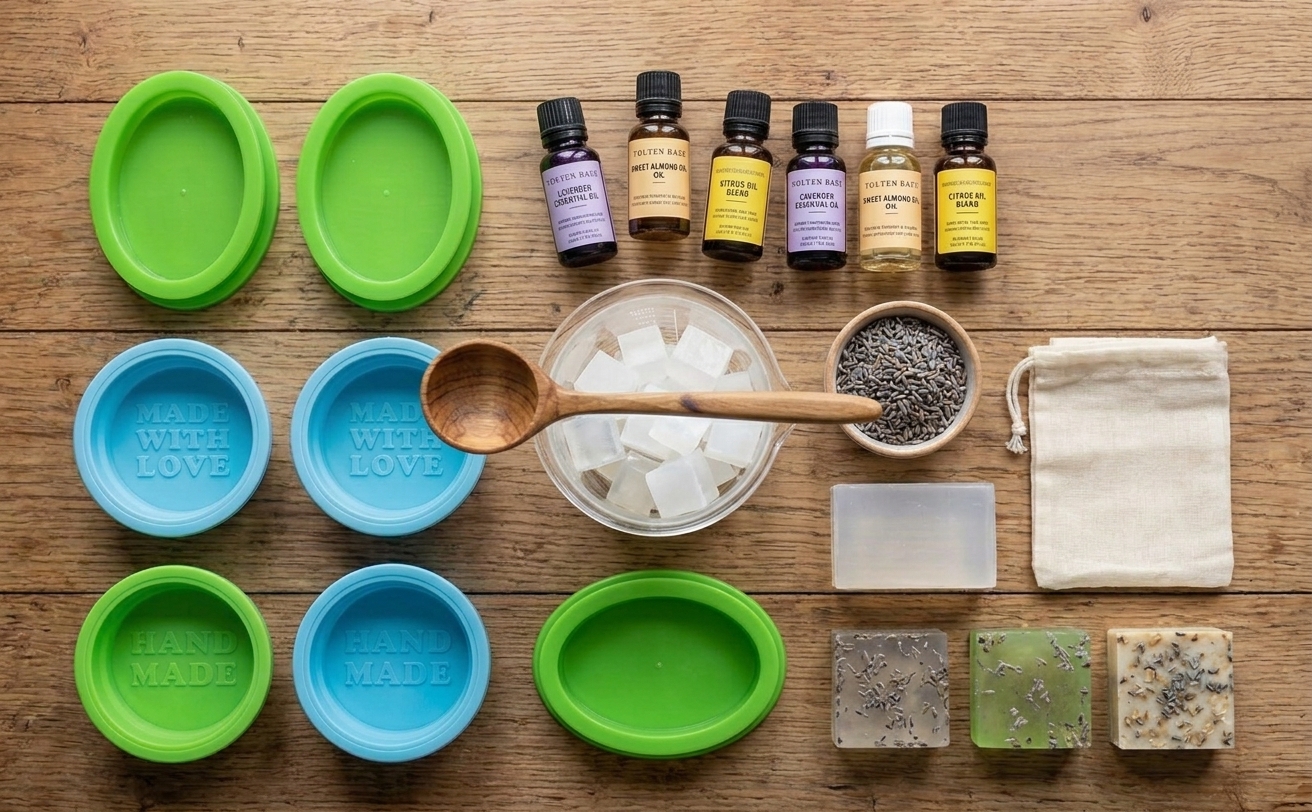
Start by cleaning your working area and gathering everything you need.
Place your soap mould on a flat and stable surface before you begin. Once the soap is melted, you will want everything within easy reach.
It is also helpful to have your fragrance, colour and any botanicals ready beforehand so that you can work efficiently once the soap has melted.
Step 2: Cut the Soap Base
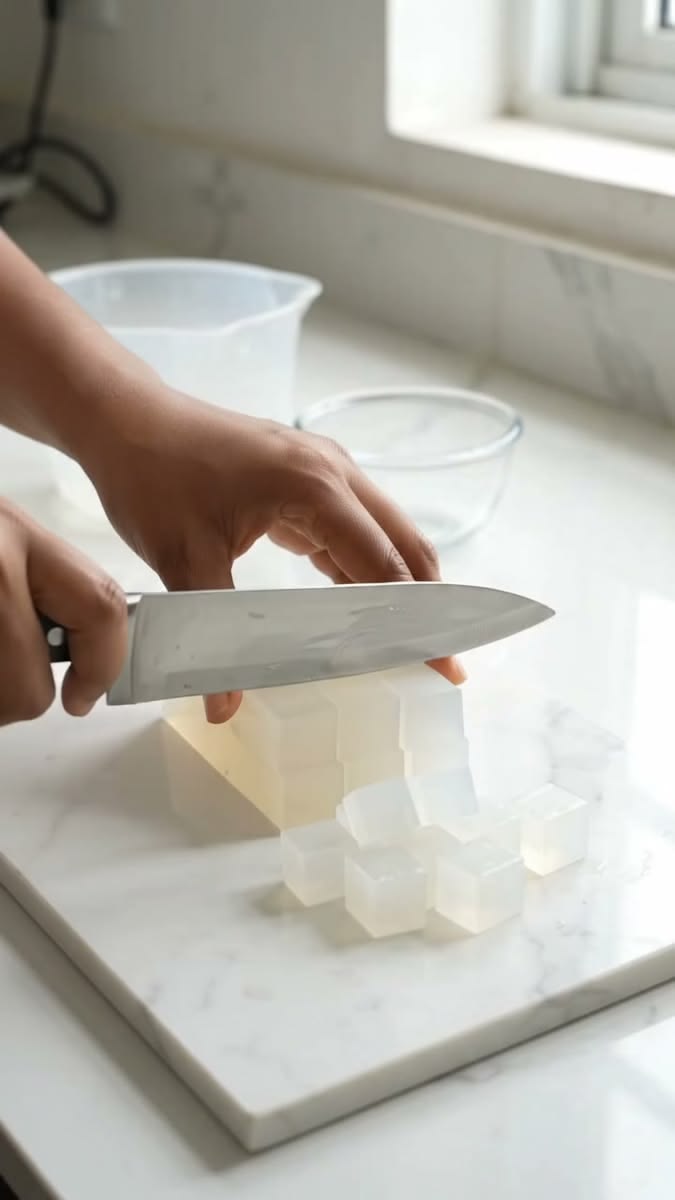
Cut the melt and pour soap base into small, evenly sized cubes. Smaller pieces melt more evenly and help prevent the soap from becoming unnecessarily hot.
Weigh the amount of soap base you need using a kitchen scale and place it into your heat-resistant container. Weigh 60 g of melt & pour soap base and cut it into small cubes if making one soap bar.
Tip: Avoid cutting the soap base into very large pieces, as they take longer to melt and may heat unevenly.
Step 3: Melt the Soap Base
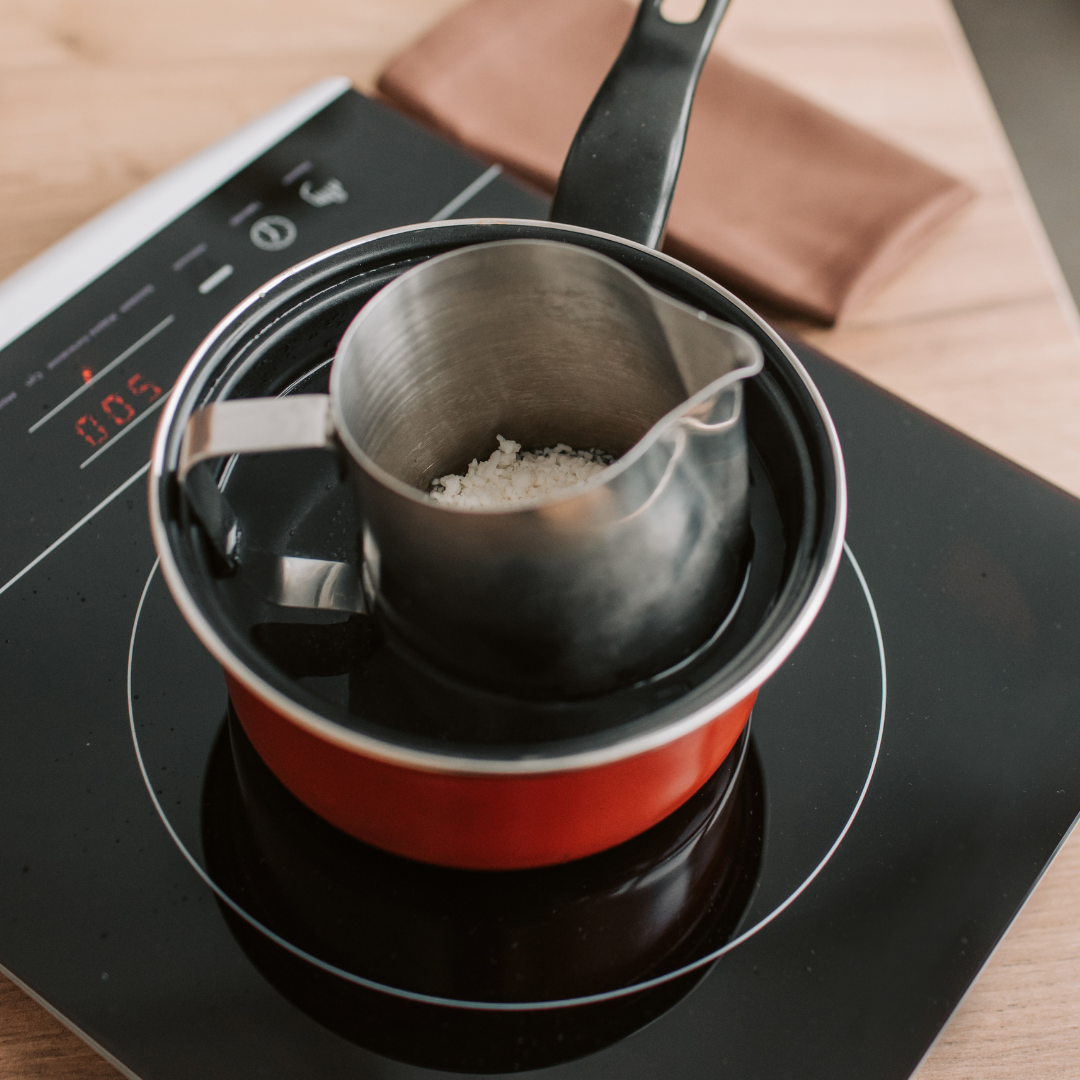
Option 1: Using a microwave
Place the container in the microwave and heat the soap base in short intervals of approximately 15–20 seconds. After each interval, carefully remove the container and stir gently.
Continue heating and stirring until the soap is almost completely melted. At this stage, remove it from the microwave and continue stirring gently. The remaining small pieces should melt from the residual heat.
Option 2: Using a Double Boiler
If you prefer not to use a microwave, you can melt the soap base using a double boiler. Place the soap in a heat-resistant container and gently heat it over a pan of warm water, stirring occasionally until melted.
Tip: Do not boil the soap. Overheating can affect the appearance and texture of your finished soap and may also cause unnecessary bubbles.
Step 4: Add Your Colour
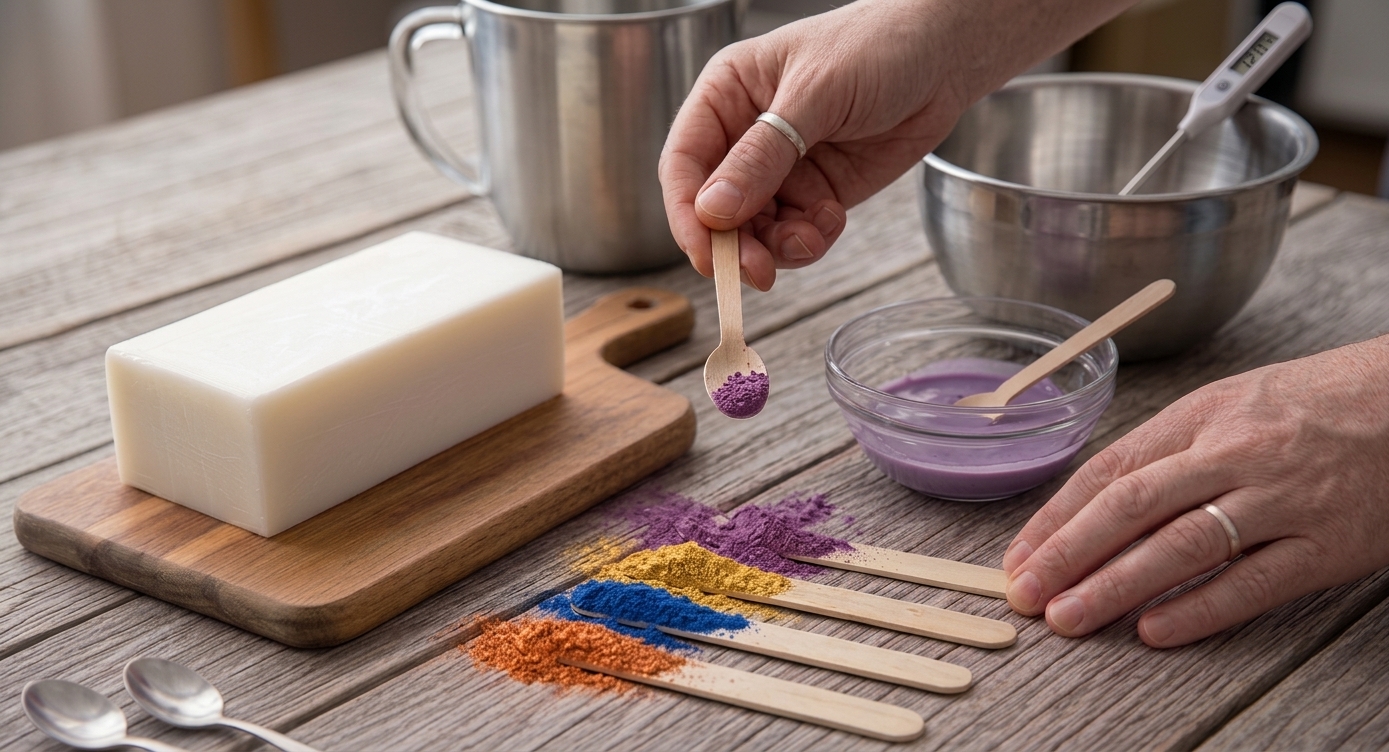
Once the soap base has completely melted, it is time to customise your soap. Add a small amount of your cosmetic-grade colour or mica and stir gently until evenly distributed. Always use a stick to add color and do not add directly from the color packet.
It is always better to start with a small amount and gradually add more until you achieve the colour you want.
Step 5: Add Fragrance
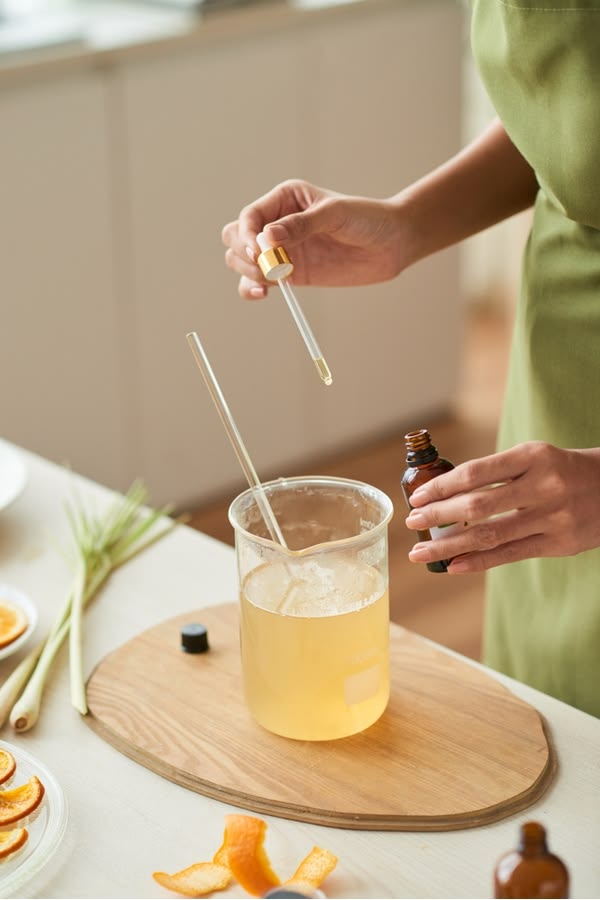
Next, add your skin-safe fragrance. Add the recommended amount provided with your kit (for every soap of 60gm, add 1ml fragrance oil). It is approximately 5–6 drops and stir gently for approximately 30–60 seconds to distribute the fragrance evenly throughout the soap.
Avoid stirring too vigorously, as this can create unnecessary air bubbles.
Tip: Always use fragrances specifically approved for cosmetic or soap applications and follow the supplier's recommended usage rate.
Step 6: Add Botanicals
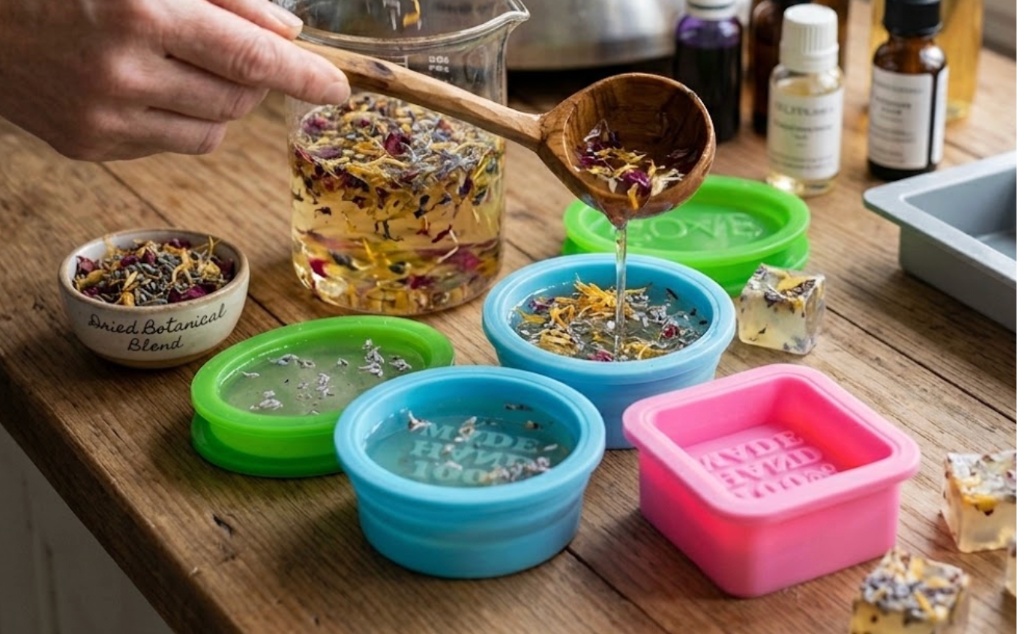
If you are using dried flowers or other botanicals, you can add them to your soap for a natural decorative finish.
You can either:
- Add a small amount directly to the melted soap.
- Place the botanicals inside the mould before pouring.
- Sprinkle a small amount on top of the soap after pouring.
Tip: For a smoother bar of soap, use botanicals sparingly. Large or sharp pieces may make the finished soap less comfortable to use on the skin.
Step 7: Pour the Soap
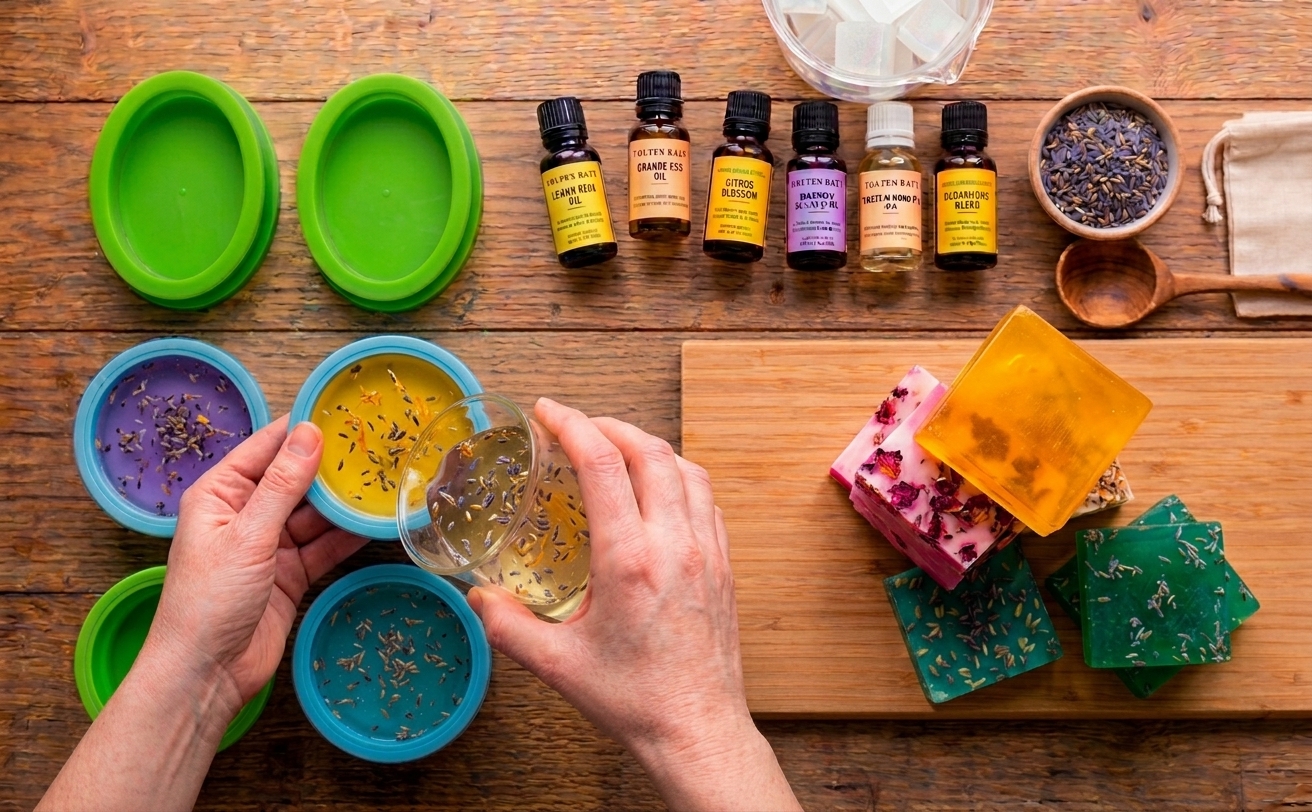
Slowly pour the melted soap into your silicone mould. Pour gently and steadily to minimise bubbles.
Once the moulds are filled, leave them on a completely flat surface and avoid moving them while the soap is setting.
Step 8: Allow the Soap to Set
Leave the soap at room temperature until it has completely hardened. Depending on the size and thickness of your soap bars, this can take approximately 30–40 mins.
For best results, allow the soap to become completely firm before removing it from the mould.
Step 9: Remove Your Soap from the Mould
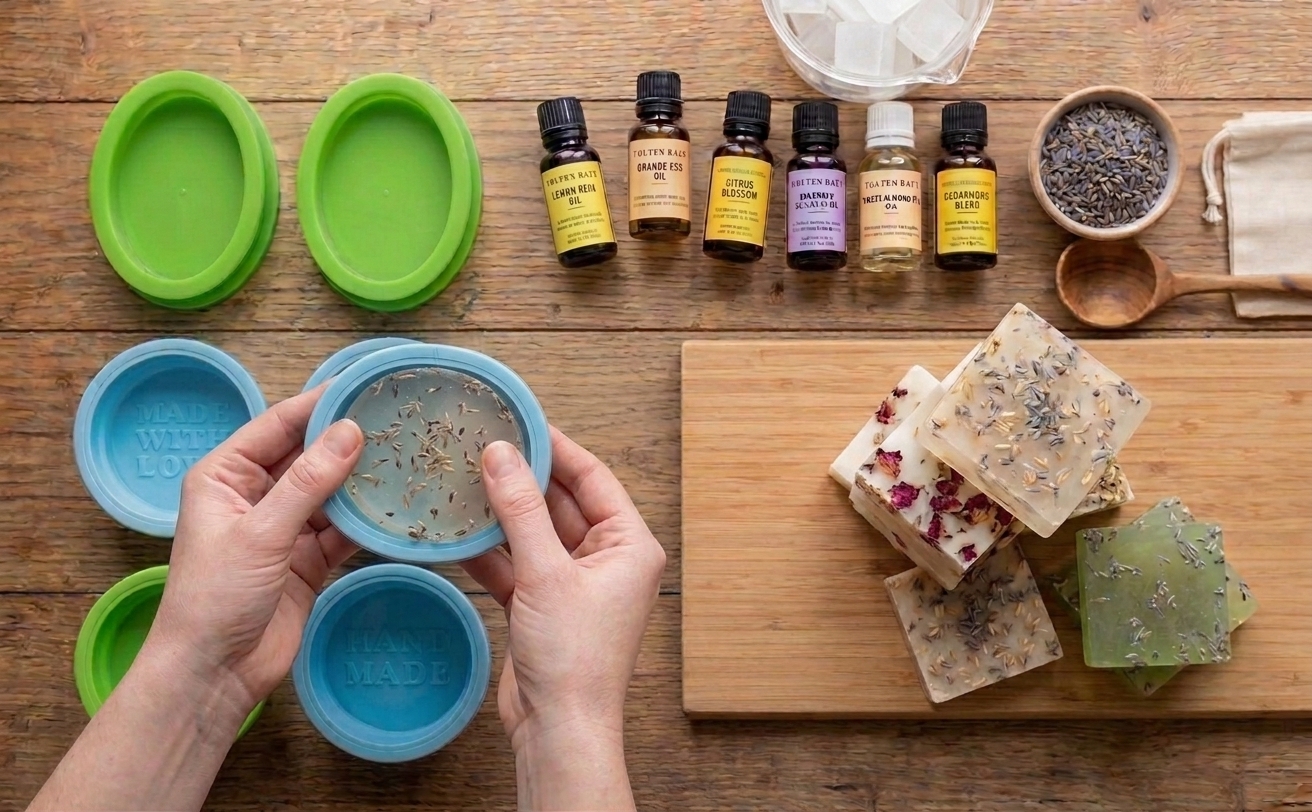
Once the soap has completely hardened, gently pull the silicone mould away from the sides of the soap.
Carefully push the soap out from the bottom of the mould.
And that's it — your handmade soap is ready to use!
How to Store Your Handmade Soap
Melt and pour soap contains glycerin, which naturally attracts moisture from the surrounding air. For this reason, proper storage is important.
Keep your finished soap:
- In a cool, dry place.
- Away from direct sunlight and excessive heat.
- Wrapped or packaged once completely dry.
Allowing the soap to dry between uses will help it last longer.
Good to Know
For external use only. Avoid contact with eyes. Do not ingest. Stop using if irritation occurs.